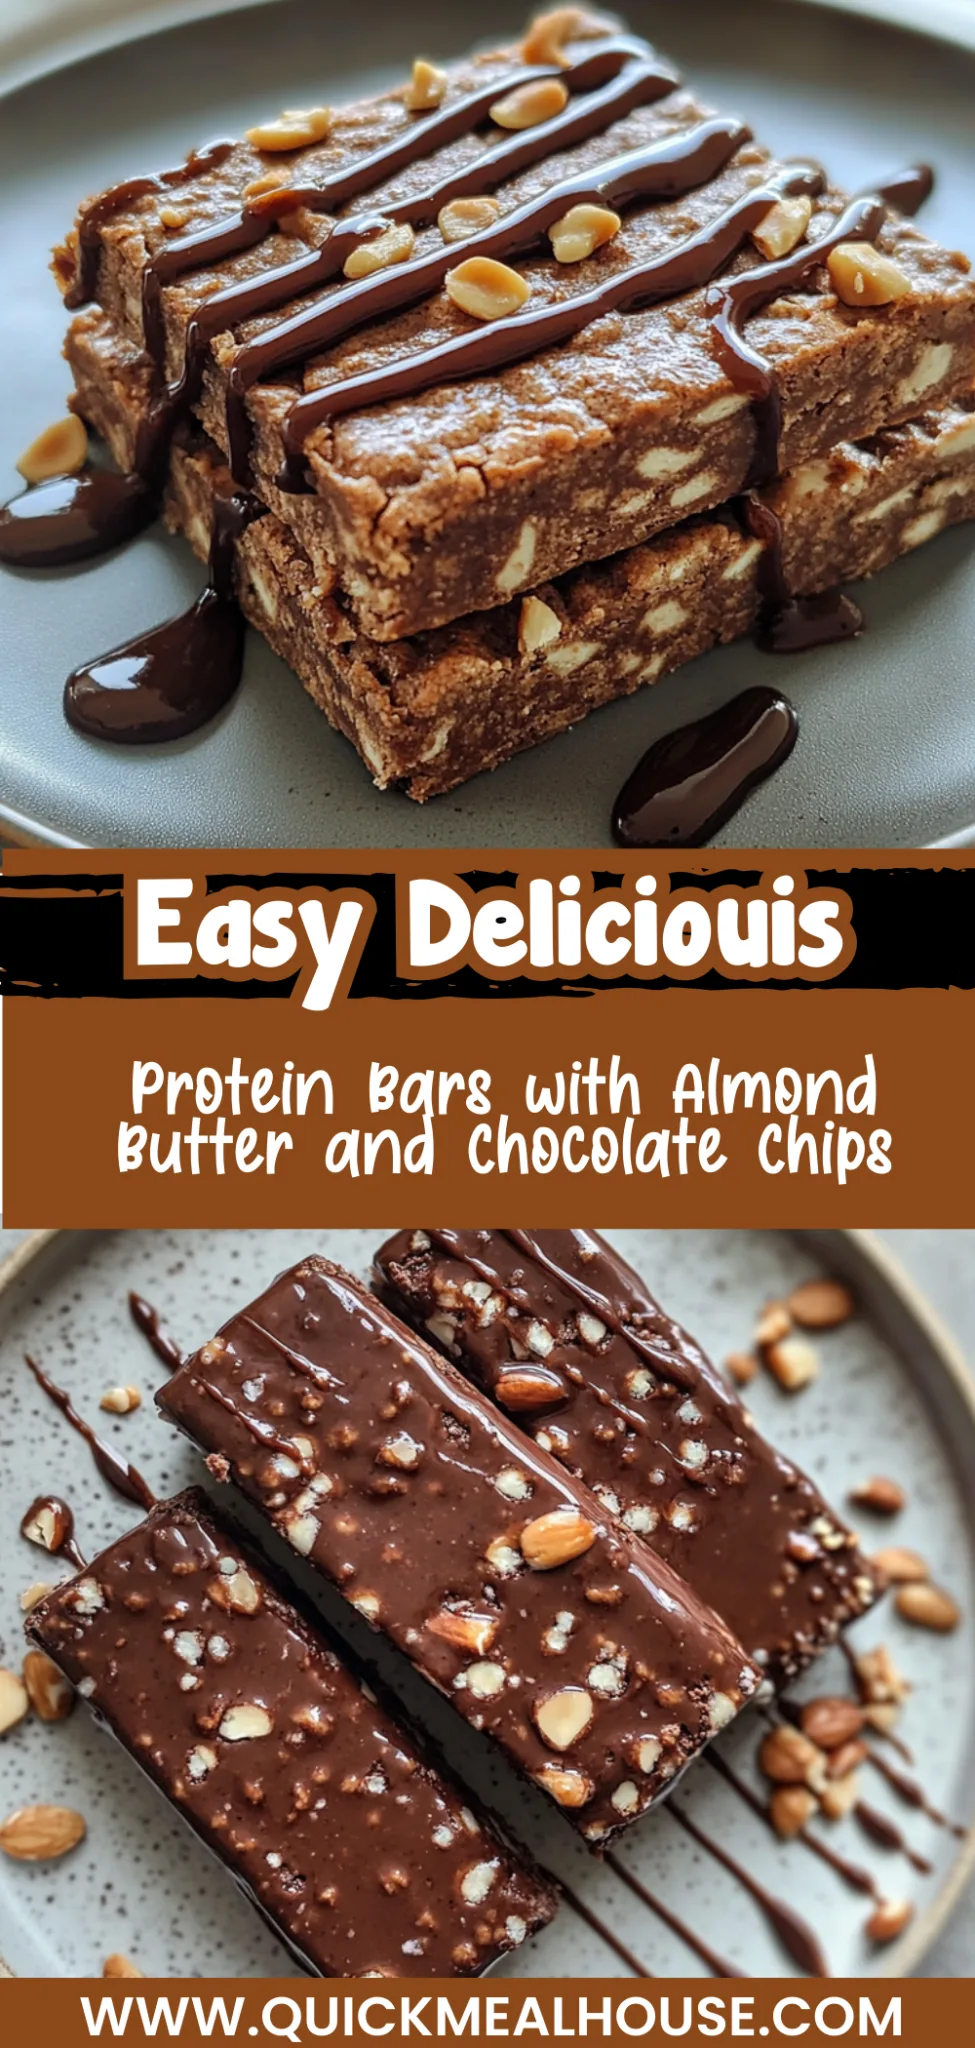
Protein Bars: Guilt-Free Energy Boost You’ll Crave
Imagine sinking your teeth into a homemade protein bar that boasts a satisfying crunch on the outside while revealing a chewy, nutty interior. The aroma of roasted almonds and rich cocoa wafts through the air, inviting you to indulge in a guilt-free snack that feels like a treat but fuels your body with essential nutrients. These Protein Bars are perfect for those busy days when you need a quick energy boost or a post-workout reward that satisfies both hunger and cravings.
What makes these bars truly special is the combination of wholesome ingredients like creamy nut butter, natural sweeteners, and a hint of vanilla that elevates each bite. Each bar can be customized with your favorite mix-ins—think dark chocolate chunks or dried fruits—to create your ideal flavor profile. Whether you’re grabbing one on your way out the door or enjoying it alongside your afternoon coffee, these Protein Bars promise to be a delightful addition to your healthy lifestyle.
Why You’ll Love This Protein Bars
These homemade protein bars are not just delicious; they’re a powerhouse of nutrients that will satisfy your cravings and fuel your body. The combination of rolled oats and almond flour creates a delightful chewiness, while the rich flavor of peanut butter harmonizes perfectly with the sweetness of honey or maple syrup, making each bite a treat for your taste buds. Plus, the optional chocolate chips add a decadent touch that balances out the wholesome ingredients beautifully, making them irresistible. With their enticing aroma wafting through your kitchen, you’ll find it hard to resist whipping up a batch of these delightful bars right now!
What Kind of Protein Powder Should I Use?
For this protein bar recipe, I recommend using a high-quality whey or plant-based protein powder in vanilla or chocolate flavor. Whey protein provides a smooth texture and excellent flavor that complements the other ingredients, while plant-based options like pea or brown rice protein offer a great alternative for those following a vegan diet without sacrificing taste. If you opt for flavored protein powders, just be mindful of the sweetness level; you may want to adjust the amount of honey or maple syrup accordingly to balance the flavors. Additionally, if you choose an unflavored protein powder, consider adding a bit of vanilla extract to enhance the overall taste of your bars.
Ingredients for the Protein Bars
Each ingredient in this dish plays an essential role in flavor and texture. Here’s what you’ll need:
1 cup rolled oats: Provides a hearty base and chewy texture.
1/2 cup protein powder (vanilla or chocolate flavor): Boosts protein content and enhances flavor.
1/4 cup almond flour: Adds moisture and a subtle nutty taste.
1/4 cup honey (or maple syrup for vegan option): Acts as a natural sweetener while binding the ingredients together.
1/4 cup chocolate chips (optional): Introduces rich bursts of chocolatey goodness.
1/2 cup peanut butter (or any nut butter): Delivers creaminess and a satisfying nutty flavor.
- 1/4 cup milk (dairy or non-dairy): Ensures the bars hold together and remain moist.
How To Make This Recipe
Combine the Dry Ingredients
In a mixing bowl, add 1 cup of rolled oats, 1/2 cup of your choice of protein powder, 1/4 cup of almond flour, and 1/4 cup of chocolate chips if you’re using them. Stir these dry ingredients together until they are well mixed and evenly distributed. This will create a solid base for your protein bars.
Mix the Wet Ingredients
In a separate bowl, combine 1/2 cup of peanut butter (or any nut butter), 1/4 cup of honey (or maple syrup for a vegan alternative), and 1/4 cup of milk. Use a whisk or spatula to mix until the mixture is smooth and creamy. The consistency should be thick yet pourable, ensuring that all ingredients are fully incorporated.
Combine Wet and Dry Mixtures
Pour the wet mixture into the bowl with the dry ingredients. Stir everything together until it forms a cohesive mixture without any dry spots remaining. The resulting blend should be slightly sticky; if it’s too dry, you might want to add a splash more milk to reach the right consistency.
Prepare the Baking Dish
Line a baking dish with parchment paper to prevent sticking and ensure easy removal later. Make sure the paper hangs over the sides for easy lifting once your bars are set. This simple step makes cutting and serving much easier when your protein bars are ready.
Press Down the Mixture
Transfer your combined mixture into the lined baking dish. Using your hands or a spatula, press down firmly to create an even layer across the bottom of the dish. Ensuring that it’s compact will help your bars hold together better once chilled, so take your time with this step.
Chill to Set
Place the baking dish in the refrigerator and let it chill for at least 45 minutes. This allows the mixture to firm up properly, making it easier to cut into bars later on. You’ll know it’s ready when it feels solid to the touch and holds its shape well.
Cut and Lift Bars
Once set, remove the baking dish from the refrigerator. Carefully lift out the entire slab using the overhanging parchment paper for support. This method prevents breakage and keeps your bars intact as you prepare to cut them.
Slice into Portions
Using a sharp knife, cut the slab into bars of your desired size. Whether you prefer larger snacks or bite-sized pieces, aim for uniformity for even serving. Enjoy these delicious homemade protein bars as a quick snack or post-workout fuel!
Store Properly
Any leftovers can be stored in an airtight container in your refrigerator for optimal freshness. They should keep well for about a week, making them perfect for meal prepping or on-the-go snacking!
How to Serve and Store Protein Bars
This recipe yields 4 delicious protein bars, perfect for a quick snack or post-workout boost. For an appealing presentation, serve the bars alongside a dollop of Greek yogurt or a handful of fresh berries, which can add a refreshing contrast to their rich, nutty flavor. You might also consider drizzling them with a bit of extra honey or maple syrup for added sweetness and visual appeal.
Store any leftovers in an airtight container in the refrigerator for up to one week to maintain their freshness. If you want to enjoy them warm, simply microwave each bar for about 15-20 seconds; this will soften the oats and bring out the nutty flavors without sacrificing their texture. While these protein bars can be frozen for up to three months, keep in mind that freezing may alter their consistency slightly, so it’s best enjoyed fresh when possible.
What to Serve With Protein Bars
Sweet Potato Fries
Crispy and slightly sweet, sweet potato fries provide a delightful contrast to the chewy texture of protein bars while adding a nutritious boost.
Spinach Salad
A fresh spinach salad with a zesty vinaigrette complements the rich flavors of the protein bars, offering a crisp and refreshing balance.
Whole Grain Bread
Toasted whole grain bread slathered with avocado or nut butter enhances the nutty undertones in your protein bars, making each bite satisfying and wholesome.
Roasted Broccoli
The savory char of roasted broccoli creates a delicious contrast to the sweetness of protein bars, while its crunchiness adds an appealing texture.
Quinoa Pilaf
Fluffy quinoa pilaf seasoned with herbs and spices provides a hearty side that pairs beautifully with the protein-packed goodness of the bars.
Chocolate Dipped Strawberries
Indulgent chocolate dipped strawberries are a fun and sweet treat that echoes the chocolate chips in your protein bars, perfect for satisfying any sweet tooth.
Frequently Asked Questions
Can I use almond butter instead of peanut butter? Yes, you can absolutely substitute almond butter for peanut butter in this recipe. Just keep in mind that it may slightly change the flavor and texture, but it will still yield delicious protein bars.
Are these protein bars dairy-free? Yes, they can be made dairy-free by using non-dairy milk like almond or soy milk. Additionally, choose a dairy-free protein powder to ensure the bars fit a strict dairy-free diet.
Can I freeze these protein bars for later? Yes, you can freeze these protein bars! Once cut into individual pieces, place them in an airtight container or wrap them tightly in plastic wrap before freezing for up to three months. Thaw them in the fridge overnight before enjoying.
How do I know when my mixture is fully combined? The mixture is fully combined when there are no dry ingredients visible and everything is evenly mixed together. It should have a thick, sticky consistency that holds together well when pressed into the baking dish.
What other flavors can I add to these protein bars? You can customize your protein bars by adding ingredients like chopped nuts, dried fruit, or spices such as cinnamon or cocoa powder for a different flavor profile. Just be mindful of the overall wet-to-dry ingredient ratio to maintain the right texture.
Final Thoughts
These Protein Bars are not just a healthy snack; they are a delicious way to fuel your day with nutrients and flavor. For more delightful treats, be sure to try our [Energy Bites] or [Chocolate Peanut Butter Smoothie] that pair perfectly with your protein-packed bars. We’d love for you to save this recipe on Pinterest and share your creations with us in the comments!