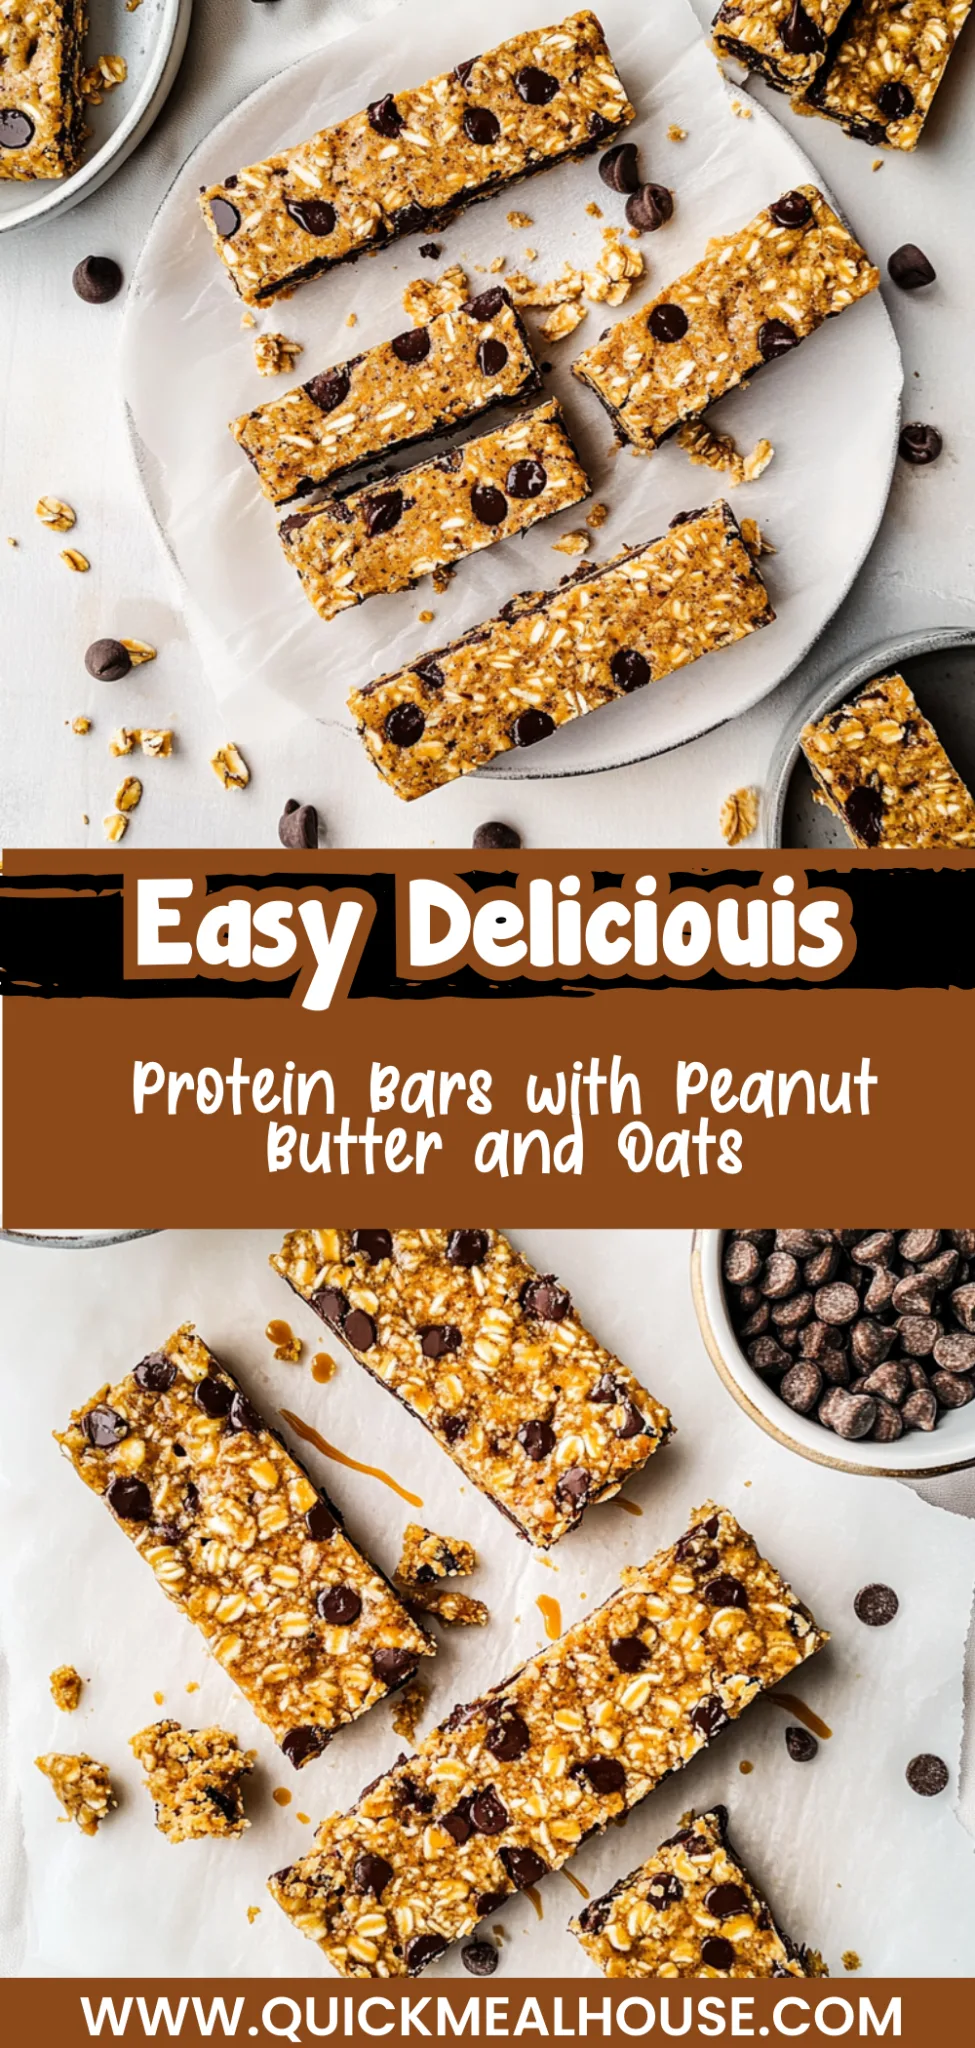
Protein Bars: Chewy, Nutty, and Absolutely Delicious
The moment you unwrap a homemade Protein Bar, the enticing aroma of nutty oats and rich chocolate fills the air, promising a delightful treat that satisfies both hunger and cravings. With a perfect balance of chewy texture and a hint of crunch, these bars serve as a nourishing companion for busy afternoons or an energizing post-workout boost, making them an essential addition to any wellness routine.
What sets these Protein Bars apart is their versatility; crafted from wholesome ingredients like creamy nut butter and protein-packed seeds, they can easily be customized to suit any taste. Whether enjoyed on their own or paired with fresh fruit for a nutritious snack, these bars invite you to indulge without guilt. Prepare to embrace the joy of homemade goodness that fuels your day and brings comfort in every bite.
Why You’ll Love This Protein Bars
These homemade protein bars are not just a powerhouse of nutrition; they offer an irresistible balance of chewy oats and creamy nut butter that creates a delightful texture with every bite. The addition of protein powder ensures you’re fueling your body right, while the optional flaxseed meal adds a subtle nuttiness and extra fiber that keeps you satisfied longer. With hints of sweetness from honey and the rich flavor of chocolate chips, these bars are as tasty as they are healthy, making them the perfect post-workout treat or quick snack on the go. You won’t be able to resist whipping up a batch of these deliciously easy protein bars tonight!
What Kind of Oats Should I Use?
For this protein bar recipe, rolled oats are the best choice because they provide a hearty texture and excellent nutritional benefits. Their flat shape allows for better mixing with the other ingredients, creating a satisfying chewiness that enhances the overall mouthfeel of the bars. If you prefer a quicker option, you could use instant oats; however, be aware that they may result in a softer texture and could absorb moisture more quickly, potentially altering the final consistency of your bars. If you opt for instant oats, consider reducing the liquid slightly to maintain balance and prevent your bars from becoming too mushy.
Ingredients for the Protein Bars
Each ingredient in this dish plays an essential role in flavor and texture. Here’s what you’ll need:
1 cup rolled oats: Provides a hearty base and chewy texture.
1/2 cup protein powder (whey or plant-based): Boosts the protein content for sustained energy.
1/4 cup flaxseed meal (optional for added fiber): Adds nutritional fiber for digestive health.
1/4 cup chocolate chips (optional): Introduces a delightful sweetness and rich flavor.
1/2 cup peanut butter (or almond butter): Contributes creaminess and nutty richness.
1/4 cup honey (or maple syrup): Acts as a natural sweetener to bind the ingredients.
- 1/4 cup milk (dairy or non-dairy): Ensures the mixture holds together with the right consistency.
Step-by-Step: How to Make Protein Bars
Combine the Dry Ingredients
In a mixing bowl, combine the rolled oats, protein powder, flaxseed meal, and chocolate chips. Use a whisk to ensure that the ingredients are evenly distributed, which will help in achieving a consistent texture throughout your bars. This step should take just a couple of minutes; make sure there are no clumps of protein powder or oats.
Mix the Wet Ingredients
In another bowl, mix together the peanut butter, honey, and milk until smooth. You can use a spatula or a hand mixer on low speed to blend these ingredients effectively. The mixture should be creamy and well incorporated, with no streaks remaining. Aim for a consistency that is slightly runny but still thick enough to hold its shape.
Combine Wet and Dry Mixtures
Pour the wet mixture into the dry ingredients and stir until fully combined. Use a sturdy spoon or spatula to fold the mixtures together thoroughly; you want to see that all dry ingredients are moistened. The final mixture should be thick but pliable, making it easy to press into your baking dish.
Line the Baking Dish
Line a baking dish with parchment paper. Make sure that the paper extends over the edges for easy removal later. This step is crucial as it prevents sticking and makes cleanup easier. A standard 8×8 inch dish works well for this recipe, but feel free to adjust depending on how thick you want your bars.
Press Mixture into Dish
Transfer the mixture into the lined baking dish and press it down firmly into an even layer. Use your hands or a flat object like a measuring cup to compact the mixture tightly, ensuring there are no air pockets. This action helps your bars hold their shape once set; aim for about 1-inch thickness.
Chill Until Set
Refrigerate for at least 1 hour to set. The cold will firm up the mixture significantly; you’ll know it’s ready when it feels solid to the touch and holds together well without crumbling. This chilling time is essential for achieving that perfect chewy texture.
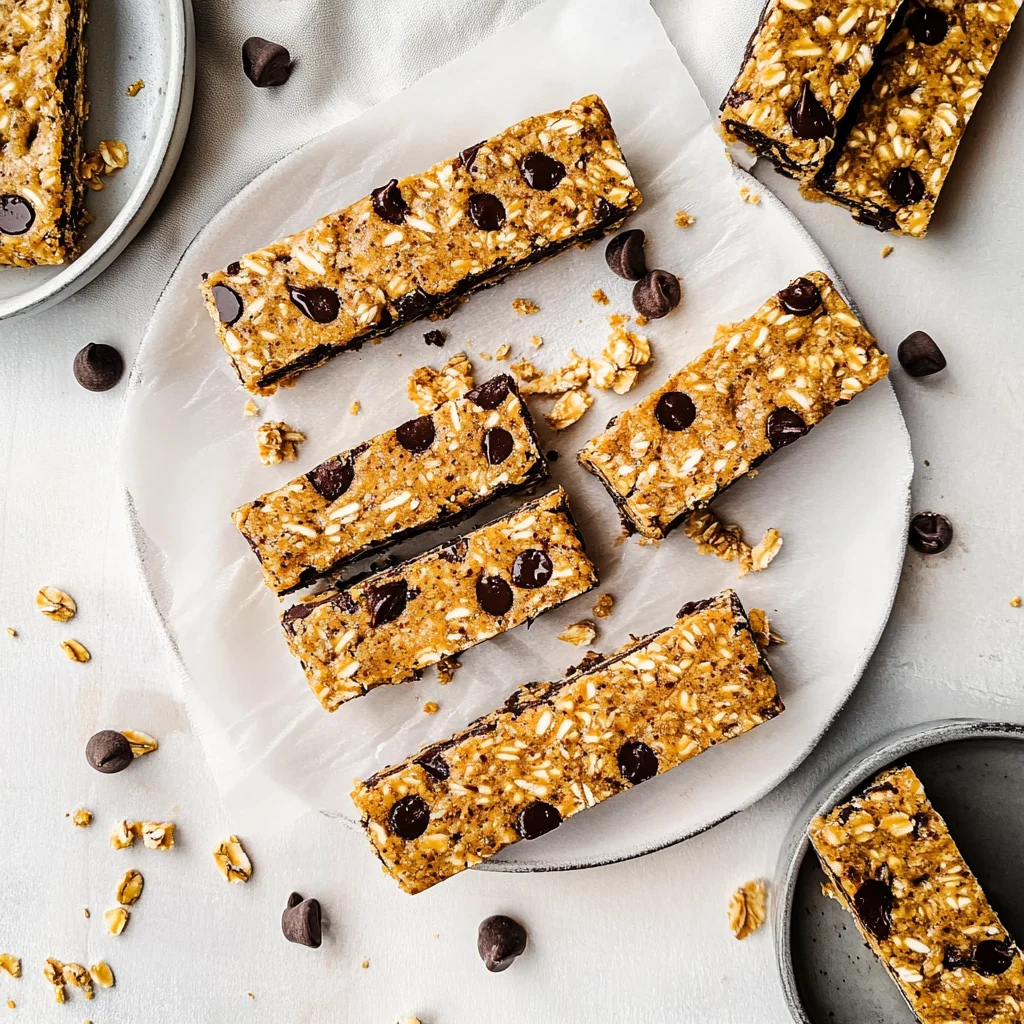
Cut Into Bars
Once set, remove from the refrigerator and cut into bars. Use a sharp knife for clean edges; you can cut them into rectangles or squares based on your preference. If you’d like uniform sizes, measure out each bar using a ruler or simply eyeball it for a more rustic look.
Store Properly
Store in an airtight container in the fridge for up to a week. Keeping them chilled ensures they maintain their texture and freshness over time. If you’re preparing these in advance for meal prep, consider wrapping individual bars in plastic wrap for easy grab-and-go snacks!
How to Serve and Store Protein Bars
These homemade protein bars make four satisfying servings, perfect for sharing or enjoying throughout the week. For a delightful snack, pair them with a side of fresh fruit like apple slices or banana halves, which add a refreshing contrast to the chewy texture. You can also drizzle a bit of extra honey on top or serve them alongside a cup of yogurt for a protein-packed breakfast or post-workout treat.
To store any leftovers, keep them in an airtight container in the refrigerator for up to one week. If you prefer, these protein bars can also be wrapped individually and frozen for longer shelf life; just be aware that freezing may slightly alter their texture, making them a bit firmer when thawed. When reheating, simply place them in the microwave for 10-15 seconds to warm up without losing quality—this will help maintain their soft and chewy consistency without making them too dry.
What to Serve With Protein Bars
Sweet Potato Fries
Crispy and slightly sweet, sweet potato fries add a delightful crunch that contrasts perfectly with the chewy texture of protein bars.
Greek Yogurt Parfait
Layered with fresh fruits and granola, a Greek yogurt parfait provides a refreshing and creamy counterpart that enhances the nutty flavors of the bars.
Roasted Brussels Sprouts
Caramelized and tender, roasted Brussels sprouts offer a savory bite that balances the sweetness of the protein bars beautifully.
Whole Grain Pita Chips
Crunchy whole grain pita chips provide a satisfying crunch while their earthy flavor complements the nutty essence of peanut or almond butter in the bars.
Spinach Salad with Balsamic Vinaigrette
A light spinach salad dressed in balsamic vinaigrette adds a zesty brightness that cuts through the richness of the protein bars.
Cheesy Polenta
Creamy cheesy polenta serves as a comforting base that pairs well with the nutty and chocolate notes found in your homemade protein bars.
Apple Slices with Almond Butter
Crisp apple slices slathered in almond butter create a fresh and crunchy side that mirrors the wholesome ingredients of your protein bars while adding extra protein.
Frequently Asked Questions
Can I use a different nut butter instead of peanut butter?
Yes, you can absolutely substitute peanut butter with almond butter or any other nut butter of your choice. Just keep in mind that it might alter the flavor slightly, but it will still provide the same creamy texture and nutritional benefits.
Are these protein bars gluten-free?
Yes, this recipe is naturally gluten-free as long as you use certified gluten-free rolled oats. Always check the labels on your ingredients to ensure they meet your dietary needs.
Can I make these protein bars ahead of time and freeze them?
Yes, you can freeze these protein bars for longer storage. Simply cut them into bars, wrap each one tightly in plastic wrap or foil, and store them in an airtight container in the freezer for up to three months.
How do I know when the mixture is properly combined?
The mixture should be well-blended without any dry spots from the oats or protein powder. It should hold together when pressed; if it feels too crumbly, try adding a little more milk or nut butter to help bind it.
What can I add for extra flavor or texture?
You can enhance the flavor by adding nuts, seeds, or dried fruits to the mixture. Consider incorporating spices like cinnamon or vanilla extract for an additional flavor twist that complements the existing ingredients beautifully.
Final Thoughts
These Protein Bars are not just a quick snack; they’re a delightful way to nourish your body with homemade goodness. If you enjoyed making these, you might also love [Peanut Butter Energy Bites] or [Chocolate Chip Oatmeal Cookies] for more wholesome treats. Don’t forget to save the recipe on Pinterest and share your creations with our community—we can’t wait to see how yours turn out!
Protein Bars
Ingredients
Method
- In a mixing bowl, combine the rolled oats, protein powder, flaxseed meal, and chocolate chips.
- In another bowl, mix together the peanut butter, honey, and milk until smooth.
- Pour the wet mixture into the dry ingredients and stir until fully combined.
- Line a baking dish with parchment paper.
- Transfer the mixture into the dish and press it down firmly into an even layer.
- Refrigerate for at least 1 hour to set.
- Once set, remove from the refrigerator and cut into bars.
- Store in an airtight container in the fridge for up to a week.