Cherry Pie Bombs: Sweet, Flaky, and Irresistibly Fun
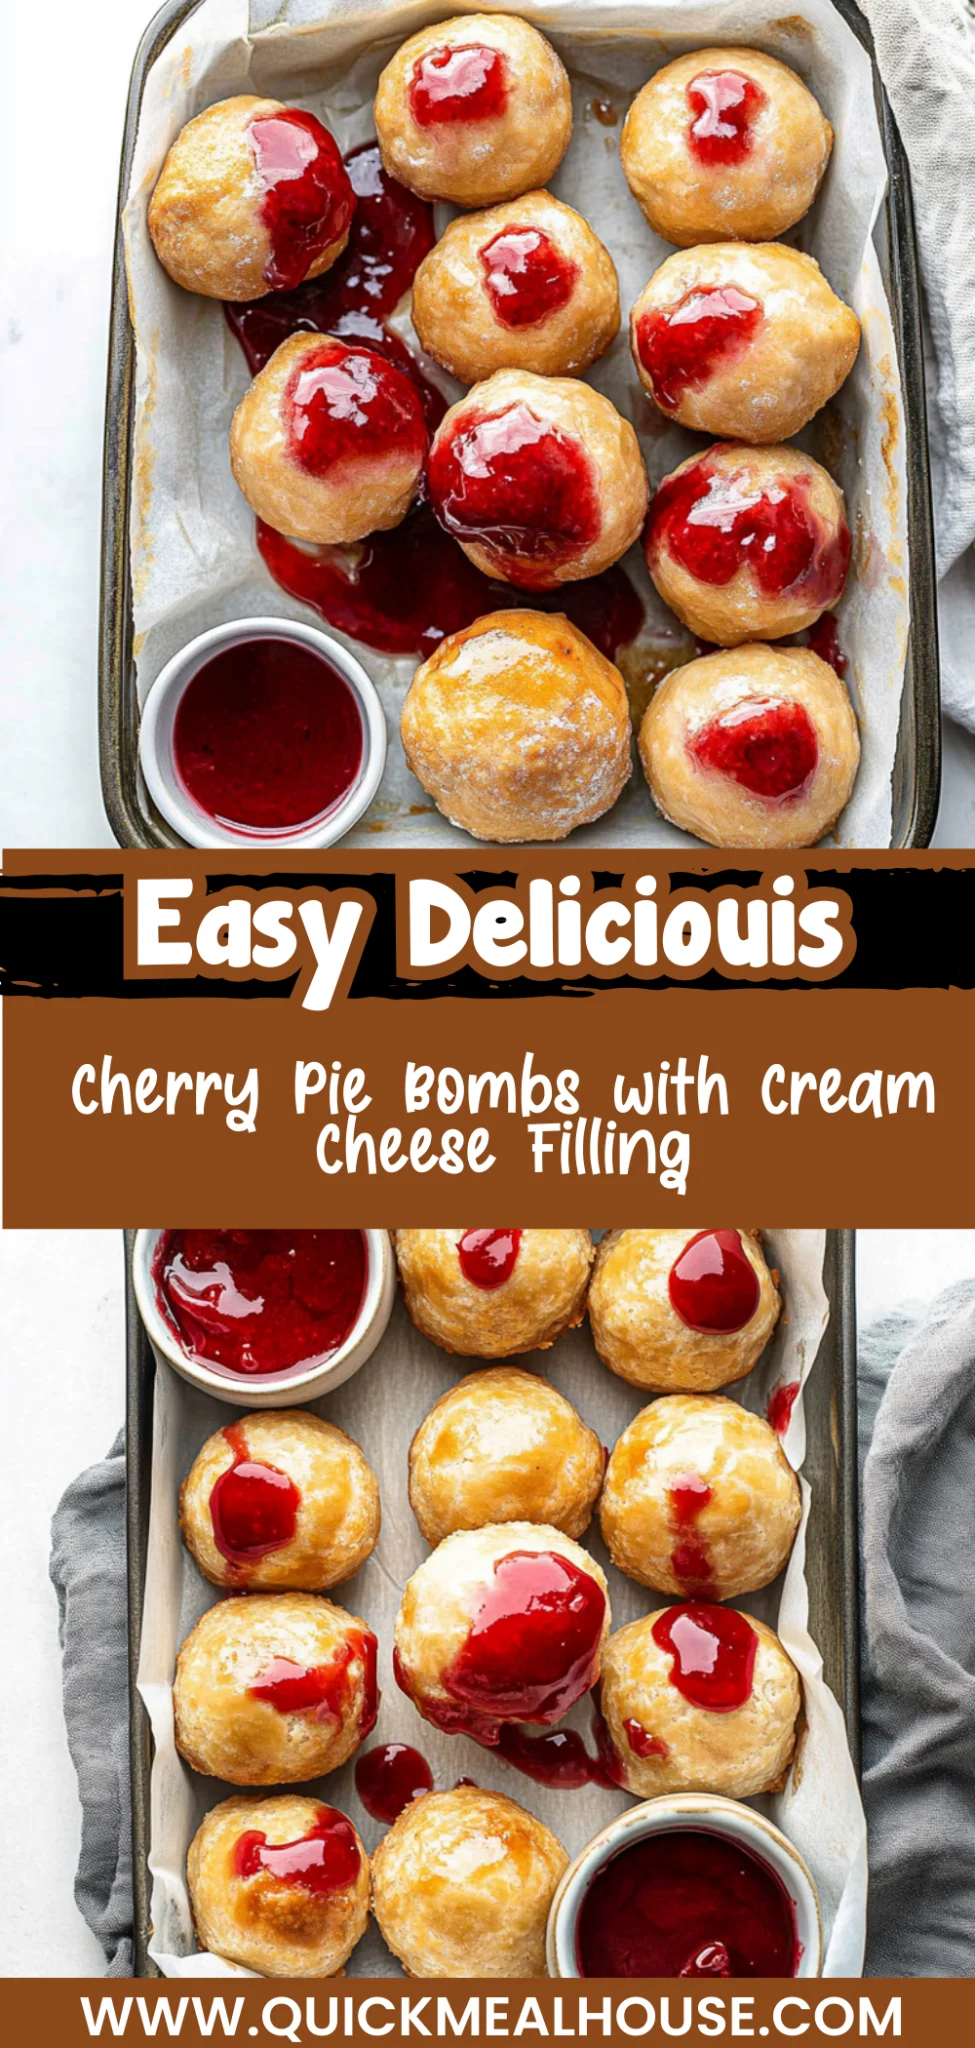
The moment you bite into a Cherry Pie Bomb, you’re greeted with an explosion of sweet-tart cherry filling encased in a golden, flaky pastry. The aroma wafts through the kitchen, inviting everyone to gather around and indulge in this delightful treat that perfectly balances nostalgia and comfort. Whether served as a whimsical dessert at a family gathering or as a cozy evening snack, these little bombs of joy are sure to evoke smiles and warm memories.
What truly sets these Cherry Pie Bombs apart is the delicate layering of the pastry, which creates a wonderfully crisp exterior that contrasts beautifully with the luscious filling inside. Enhanced by a sprinkle of sugar on top, they are not only visually appealing but also irresistible to the palate. Perfect for sharing or savoring all on your own, these delightful bites beckon you to experience the joy of homemade treats that bring people together around the table.
Why You’ll Love This Cherry Pie Bombs
These Cherry Pie Bombs are a delightful fusion of textures and flavors that will have you savoring each bite. The luscious cherry filling, enhanced with a touch of lemon juice and vanilla extract, offers a perfect balance of sweetness and tartness, while the flaky pastry envelops it in a warm embrace, creating an irresistible contrast. As they bake, the aroma of sweet cherries and buttery crust wafts through your kitchen, making it impossible to resist their charm. With minimal effort using pre-made pie crusts, you can whip up these treats in no time—perfect for satisfying your sweet cravings tonight!
What Kind of Cherries Should I Use?
For the best results in your Cherry Pie Bombs, I recommend using either Bing or Rainier cherries. Bing cherries are known for their deep red color and sweet flavor, which complements the pie filling beautifully, while Rainier cherries offer a lighter sweetness with a hint of tartness. Both varieties have a firm texture that holds up well during baking, ensuring that your pie bombs maintain their shape and provide a delicious burst of flavor with each bite. If you can only find sour cherries, you can use them as an alternative; however, be mindful to reduce the amount of sugar in the filling to balance out their tartness.
Ingredients for the Cherry Pie Bombs
Each ingredient in this dish plays an essential role in flavor and texture. Here’s what you’ll need:
2 cups fresh or frozen cherries (pitted): These provide the sweet and tart filling that defines the pie bombs.
1/2 cup granulated sugar: Balances the tartness of the cherries and enhances their natural sweetness.
2 tablespoons cornstarch: Thickens the filling to prevent it from becoming runny during baking.
1 tablespoon lemon juice: Brightens the cherry flavor and adds a refreshing zing.
1/2 teaspoon vanilla extract: Infuses a warm, aromatic note that complements the cherries.
1 package pre-made pie crusts (usually contains 2 crusts): Offers a flaky and buttery exterior for the pie bombs.
1 beaten egg (for egg wash): Creates a beautiful golden-brown finish on the pastry.
1 tablespoon granulated sugar (for sprinkling on top): Adds a touch of sweetness and crunch to the finished pie bombs.
How To Make This Recipe
Combine the Cherry Filling
In a mixing bowl, combine 2 cups of fresh or frozen pitted cherries, 1/2 cup of granulated sugar, 2 tablespoons of cornstarch, 1 tablespoon of lemon juice, and 1/2 teaspoon of vanilla extract. Stir until everything is well mixed, ensuring that the cherries are evenly coated in the sugar and cornstarch. Let the mixture sit for about 10 minutes to allow the cherries to release their juices, creating a flavorful filling.
Preheat the Oven
Preheat your oven to 375°F (190°C) to ensure it reaches the right temperature for baking. This step is essential for achieving that perfect flaky crust once you place the cherry pie bombs inside. While the oven is heating up, you can prepare your pastry.
Roll Out the Pie Crusts
On a floured surface, roll out the pre-made pie crusts from your package. Cut them into 4-inch circles using a sharp knife or a round cutter. Make sure they are even in size so that your cherry pie bombs cook uniformly and have an appealing presentation.
Fill Each Circle
Take a spoonful of the cherry filling and place it in the center of each circle you’ve cut from the pie crusts. Be careful not to overfill them; a generous tablespoon should suffice to avoid any spillage during baking. This ensures that each bite remains juicy without leaking out too much filling.
Seal and Prepare for Baking
Fold the dough over the cherry filling to create a half-moon shape. Press down on the edges with a fork to seal them securely; this technique not only seals in the delicious filling but also adds a decorative touch to your cherry pie bombs.
Brush and Sprinkle
Using a brush, apply beaten egg over the tops of each sealed pastry for an attractive golden color when baked. After brushing with egg wash, sprinkle 1 tablespoon of granulated sugar on top to enhance sweetness and add texture to your treats.
Bake to Perfection
Place your filled pastries on a baking sheet lined with parchment paper for easy cleanup. Bake them in your preheated oven for 15-20 minutes or until they turn deeply golden brown. Keep an eye on them towards the end of baking; they should be puffed up and fragrant.
Cool Before Serving
Remove the cherry pie bombs from the oven and allow them to cool slightly before serving. This will help prevent burns from hot filling while still allowing you to enjoy their delightful flavor and flaky texture right away.
How to Serve and Store Cherry Pie Bombs
This recipe yields 4 delicious servings of Cherry Pie Bombs, perfect for sharing with friends or enjoying as a sweet dessert after dinner. For an inviting presentation, serve them warm on a rustic wooden board dusted with powdered sugar, accompanied by a scoop of vanilla ice cream that melts into the cherry filling, creating a delightful contrast of temperatures and textures. Alternatively, you can drizzle them with a rich chocolate sauce or serve with a side of whipped cream for an extra indulgent treat.
To store any leftovers, place the cooled Cherry Pie Bombs in an airtight container in the refrigerator, where they will keep well for up to 3 days. When you’re ready to enjoy them again, reheat in the oven at 350°F (175°C) for about 10-15 minutes to restore their flaky crust. If you find yourself with extra cherry filling, consider adding a splash of water while reheating to maintain moisture without compromising its texture; however, it’s best not to freeze these bombs as the pastry may become soggy upon thawing.
What to Serve With Cherry Pie Bombs
Vanilla Ice Cream
Creamy vanilla ice cream melts beautifully over warm cherry pie bombs, creating a delightful contrast between hot and cold.
Roasted Brussels Sprouts
The slight bitterness of roasted Brussels sprouts balances the sweetness of the cherry filling, adding depth to your dessert experience.
Garlic Bread
The savory notes of garlic bread provide a delicious counterpoint to the sweet cherries, making each bite an exciting flavor adventure.
Spinach Salad with Balsamic Vinaigrette
A fresh spinach salad drizzled with tangy balsamic vinaigrette offers a crisp and refreshing contrast that elevates the cherry pie bombs.
Creamy Polenta
Rich and creamy polenta acts as a luxurious base that complements the flaky pastry and sweet cherry filling perfectly.
Lemon Sorbet
Bright and zesty lemon sorbet cleanses the palate between bites, enhancing the sweet-tart flavors of the cherry pie bombs in a refreshing way.
Frequently Asked Questions
Can I use frozen cherries instead of fresh ones? Yes, you can absolutely use frozen cherries for the filling. Just make sure to thaw and drain any excess moisture before mixing them with the other ingredients to prevent a soggy pastry.
Are these Cherry Pie Bombs gluten-free? To make these Cherry Pie Bombs gluten-free, simply substitute the pre-made pie crusts with a gluten-free pie crust alternative. You can find ready-made options at most grocery stores or make your own using gluten-free flour.
Can I prepare the Cherry Pie Bombs in advance and freeze them? Yes, you can prepare the bombs and freeze them before baking. Just fill and seal the pastries, then place them on a baking sheet in the freezer. Once frozen, transfer them to a freezer bag and bake from frozen when you’re ready—just add a few extra minutes to the baking time.
How do I know when my Cherry Pie Bombs are done baking? The Cherry Pie Bombs are done when they are golden brown on top, which usually takes about 15-20 minutes at 375°F (190°C). You can also check that the filling is bubbling slightly out of the edges for an indication that they’re cooked through.
What other fruits can I use for these pie bombs? You can definitely experiment with other fruits! Options like blueberries, raspberries, or even peaches can work well in place of cherries. Just adjust the sugar depending on the sweetness of the fruit you choose.
Conclusion
There’s nothing quite like the delightful combination of delicious cherry pie filling wrapped in flaky pastry to bring a smile to your face, making Cherry Pie Bombs a must-try treat. If you’re craving more sweet indulgences, consider trying [Peach Galette] or [Blueberry Crisp] for equally satisfying desserts that will impress your loved ones. We’d love for you to save this recipe on Pinterest and share your baking adventures with us in the comments!

Cherry Pie Bombs
Ingredients
Method
- In a mixing bowl, combine the cherries, sugar, cornstarch, lemon juice, and vanilla extract. Stir until well mixed.
- Let the mixture sit for about 10 minutes to allow the cherries to release their juices.
- Preheat the oven to 375°F (190°C).
- Roll out the pie crusts on a floured surface and cut them into 4-inch circles.
- Place a spoonful of the cherry filling in the center of each circle.
- Fold the dough over the filling to create a half-moon shape and seal the edges by pressing with a fork.
- Brush the tops with the beaten egg and sprinkle with sugar.
- Place the filled pastries on a baking sheet lined with parchment paper.
- Bake in the preheated oven for 15-20 minutes or until golden brown.
- Remove from the oven and let cool slightly before serving.